Reveni Labs Light Meter: Tiny Meter For Your Old Cameras
Created by Matt Bechberger
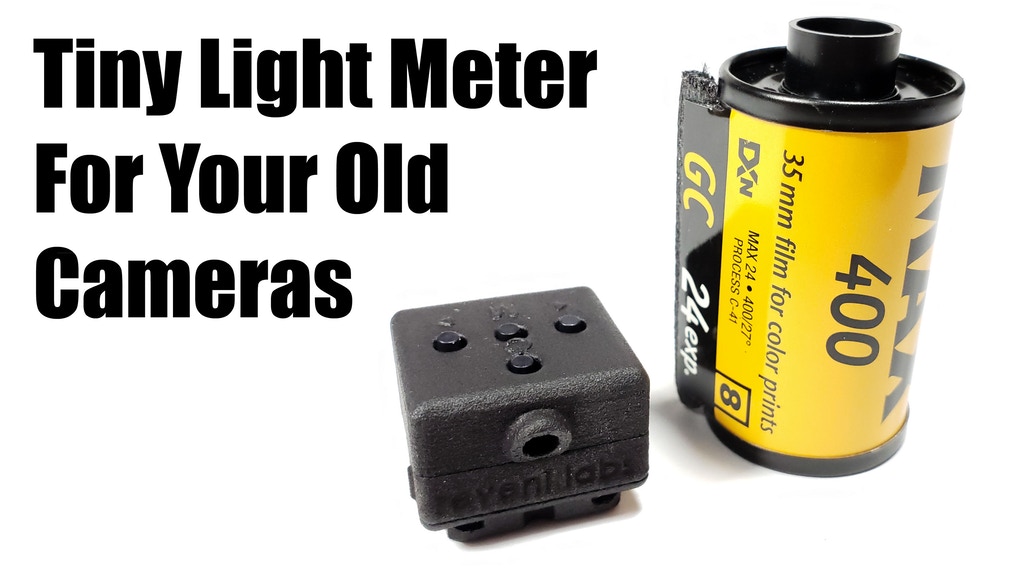
A very tiny photographic light meter, plus accessories!
Latest Updates from Our Project:
Technical In-Depth: Injection Molding, 3D Printing, and My Design Choices
about 4 years ago
– Tue, Mar 10, 2020 at 07:06:04 PM
I'd like to talk for a moment about my decision to pursue Multi-Jet Fusion (MJF) 3D Printing as the method of manufacture for the Reveni Labs Light Meter.
3D printing has gotten a bad rap as a poor cosmetic quality way to avoid having the expense of producing injection mold tooling so that a product can be made the "traditional" way. This is fine for lower complexity objects and large production runs, where the cost savings of a mold will pay for themselves by producing tens or hundreds of thousands of parts. For niche products such as this, from a (currently) one-man operation, this is a different story. The cost of errors in injection molding is frankly HUGE. If there was an error in the light meter mold, it could single-handedly fail the Kickstarter. It's a pathway that I did not feel was appropriate for this project right from the start. Not when a technology like MJF printing is available.
MJF Printing
MJF isn't your hobby 3D printing technology. Fused Deposition Modeling (FDM) printing is commonplace now, with machines costing only a couple hundred dollars to get started. The cosmetic quality of the prints is low, the strength is poor, and the abilities of the machines are limited. MJF machines are in a whole other class. A starting cost for a single MJF printing facility costs $150K USD and up, when factoring in the necessary post-printing cleanup and powder recycling equipment. Take a look at this video for more information:
Quite simply, this is a new world of manufacturing potential.
Benefits of 3D Printing over injection molding
A primary benefit of 3D printing is the ability to purchase in small quantities with no setup fees. The machinery is ready to produce anything it is capable of at any time, and so there is no machine changeover, mold installation, or re-configuring of the machine needed, costing hundreds even before the first part is molded.
A second benefit of 3D printing is that since there is no precision tool-steel metal mold to make, design complexity is free. Parts which have blind features, impossible cavities and hollows, as well as wildly varying thicknesses. These features are not a concern for MJF printing. This means a complex part can be produced as a single piece of plastic instead of several which need to be assembled together, reducing labour costs and improving reliability.
With integrated springs and many odd shapes, you could not injection mold this part
A further benefit is the low cost of errors. Make a mistake in the design? It only cost you the price of one prototype piece you ordered. If you had made that mistake on your $40,000 mold, you just went out of business.
An additional benefit of MJF printing is that when you order a single prototype, it is made in the exact same way the production run will be. If you were trying to prototype an injection molded part by using a 3D Printer, how do you know it will perform once made from the injection molded plastic? There is always this uncertainty when transitioning from prototype to production injection molded parts.
More Options
The five new accessories that I've announced would not be possible if they were not being MJF 3D printed. Could I make so many options available if I had to have a mold made for each one? Would I be able to give you your choice of which you wanted? No way! They simply couldn't exist. Once the backer surveys are complete and I have the quantities of each accessory I need, I can order the exact quantity from the supplier with no minimums and no concern about return on mold investment. I don't have to hidden-charge you for accessories you don't want, just so I can recoup the tooling cost!
Five Accessories
In The End
Are the parts available in a mirror glossy finish? Are they available in other colours? Are they 10 cents each when you buy 10,000 of them? No, they're not. However I think this is a small price to pay for the incredible benefits I have outlined above.
If you've read this far, I hope you've appreciated this deep dive into my thought process behind using MJF 3D Printing as a production technology. I'd love to hear feedback and other points of view on what I've said here.
Thanks for reading!
Matt Bechberger
Accessories are HERE!
about 4 years ago
– Fri, Mar 06, 2020 at 07:14:46 AM
Hey Everyone!
I've spent the last few days parsing the various requests for some accessories. I had a few ideas for what I would find useful, and I think I have managed to bring the rest of the ideas that people sent in to life as well. Without further delay, here's what I've got!
Let's break it down a little bit further
1. Ring Mount. No accessory shoe? Wear your meter right on your finger! If you wear it on your thumb, you can do total one-handed operation, too! The ring size is about U.S. Size 7, 17.5mm diameter. It has some flexibility to go up or larger fingers, so this should work well for most users.
1. Ring Mount
2. Lanyard/Necklace mount OR sticky mount. If you don't have an accessory shoe on your camera, you can wear the meter around your neck by this simple accessory shoe that has a lanyard attachment hole. It will also come with a square of 2-sided sticky tape so you can mount it directly and permanently to your camera of choice, if you wish.
Lanyard/Necklace or Sticky mount
3. Hinged hard case. This case will keep your light meter safe in your pocket or bag, and has a lanyard hole on the back so you can tie it to your bag, camera strap, or wear it around your neck. Do anything you want with it in a sturdy protective case! The case has printed-in spring clip latches and a printed-in-place hinge.
Hard case with hinged lid
4. Reverse-able Double shoe adaptor. If you've got a wide angle lens which has its own viewfinder, you won't want to give up your accessory shoe slot on the camera. Now you don't have to! Put this in and you've got a 2nd shoe 1.25"(37mm) enough room for both your Reveni Labs Light Meter and your viewfinder of choice. Flip it so the offset shoe is on the left or right as needed. All three mounting features have integrated springs to ensure a snug fit for your devices, and included lanyard hole for tethering to your camera if you're still worried.
5. Wrist Strap Mount. No mount on your camera? Don't like hanging stuff around your neck or rummaging in your pockets? Wear this NATO-style watch strap mount on your wrist! Aim it like you're checking the time, couldn't be easier! Nylon NATO watch band will be included and can be replaced with a compatible thickness/width single-piece band, if you wish.
How Can I Get The Accessory I want?
There are now three higher tiers of pledge that are available for you to upgrade your pledge to. You can now select to pledge for your Reveni Labs Light Meter, or your meter + 1, 2, or 3 accessories. The same is for the 2x and 4x levels, but with some discounts!
Prototypes Of The Accessories
They're on order! I'll have photos of the real things before the end of the campaign, so you have time to make your decision!
How To Make Your Choice(s)
You will have until the end of the campaign to choose if you want to upgrade for accessories, and how many you want to upgrade to. After the campaign ends, you'll receive a backer survey which will let you pick the items you want. If you pledged for multiple, you can pick all the same or different ones, it's up to you!
Early Birds
Early birds will be getting a special message discussing the issue of upgrading if you hold an early-bird slot.
Thank you for your tremendous support!
Early Bird Accessory Upgrades
about 4 years ago
– Thu, Mar 05, 2020 at 01:42:28 PM
This post is for backers only. Please visit Kickstarter.com and log in to read.
Early Birds Accessory Upgrades - Correction
about 4 years ago
– Thu, Mar 05, 2020 at 01:41:41 PM
This post is for backers only. Please visit Kickstarter.com and log in to read.
Another features update, plus some good news!
about 4 years ago
– Thu, Mar 05, 2020 at 06:59:23 AM
Hi Everyone!
The project continues to grow and feels like it has become a phenomenon in the community!
Bringing PCB assembly to North America
The big news for me is that the huge success has allowed me to bring the PCB assembly process to Canada! The funding goal of $16000 CAD was going to be around 140 units, a prohibitively small quantity of units for most circuit board assembly factories here in Canada, so I was expecting I was going to need to do this step in China. This opens issues of factory communication (12 hour time difference) as well as little recourse if there is quality variations or any assembly errors. However, due to the massive response to the project I have been able to bring a much larger build quantity to the PCB assemblers local to me and have gotten an acceptable price per unit. This means the assembly can be done in Canada, where I can keep a watchful eye on quality and help ensure there are no production delays! The multi-jet-fusion parts are also printed in North America so at the moment, the only remaining manufacturing component coming from overseas is the circuit boards. This is something that I will be looking into bringing domestic as well once the final production quantity is known. Great news for local manufacturing in the Toronto region!
(Even) More Features!
I've added a feature to give additional information to the user if they wish to have it, so a new menu option has been added called "LX/EV". When enabled, it will display the lux reading and Exposure Value (to 2 decimal places) of the reading directly to the user for half a second, before proceeding to display the calculated f-stop and shutter speed. This gives the user who wishes for more info the ability to see the true lux reading and EV to help inform their exposure decision. There was lots of messages about being able to see the EV directly and so I put it in!
To cater to the pinhole shooters out there, I am extending the available aperture options up to f1000!
Pledge Upgrades!
I've been hard at work on accessory design based on your feedback! It's taken a little bit of time to get the designs modelled and imagery produced to show you the designs, as well as plan how the pledge upgrades will work. There will be a new update on this in a day or two!
Stay tuned! Also, thank you again for your amazing support!